
Etiquette -- 2 months ago
From wiring a plug to repointing brickwork, how many can you do?
Words: Jonathan Wells
Let’s start by clearing something up. A gentleman, although au fait with, and able to perform basic DIY skills, does not try to fix anything and everything in his house should it go wrong.
Yes, he should be able to change a bulb or replace a blown fuse. But, if a load-bearing wall starts looking a little shaky, or some exposed wires start snaking and sparking about near your water pipes, call someone in. Being proficient at DIY is not simply about knowing what you can do, it’s also about knowing what you can not.
That said, there are certain skills many men lack that always come in handy, so grab your toolbox and listen up; these are the 5 DIY skills every gentleman should know.
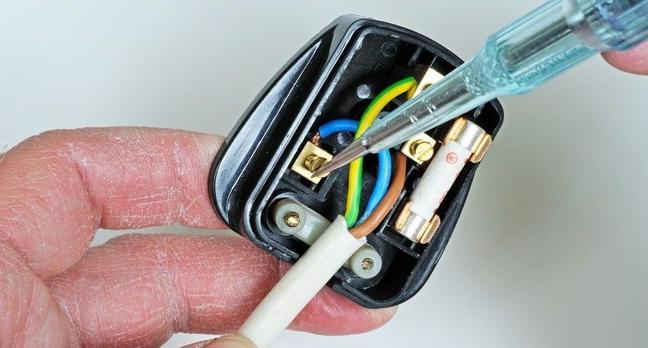
Wiring a plug is an important skill – especially with retro tech on the rise. Many electrical problems with appliances stem from faulty plugs, so this could save you a lot of time and money.
Firstly, know which wire is which. The red or brown wire (which lives on the right) is your live wire. The blue or black (on the left) is your neutral. And the striped yellow and green wire (in the middle and secured above the other wires) is your earth connection.
To wire a plug, use a Philips screwdriver to remove the back from the plug, and then strip back 3-4cm off the outer cable sleeve of your wire. Next, strip around 5mm from each individual wire. Loosen each of the internal terminals with a flat-head screwdriver, and insert the ends of each wire into the correct terminals.
Ensure that the terminals are each individually tightened, your cable grip is holding the large cable – not the three smaller ones – and the back of the plug is tightly reattached.
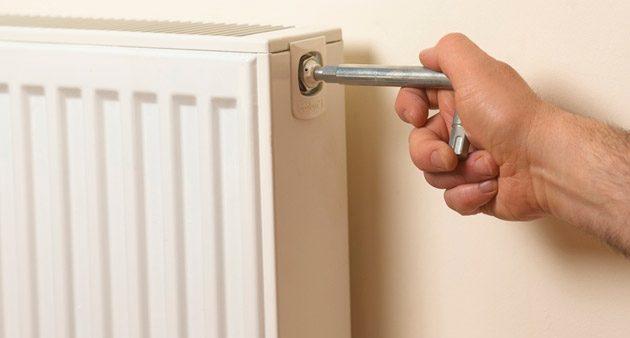
Everybody has them and, as winter rolls around, we all need them too. However, when radiators become cold at the top and warm at the bottom, they have to work overtime, and your bills can skyrocket. A proven way to fix this problem is to bleed the radiator.
Begin by turning your heating off – this will prevent any more water entering your radiator whilst you are bleeding it. Next, find the bleed valve. This is usually situated on the side of your radiator, sometimes with a red handle. Place a small bowl or cloth underneath the valve and fetch your bleed key – which should have been left when you had your radiators installed.
To bleed the radiator, place the key in the valve and turn anticlockwise. You should hear a hissing sound and, when water starts to escape, turn the key back as all trapped air has been released. Then simply clean up any spillages and turn your heating back on.
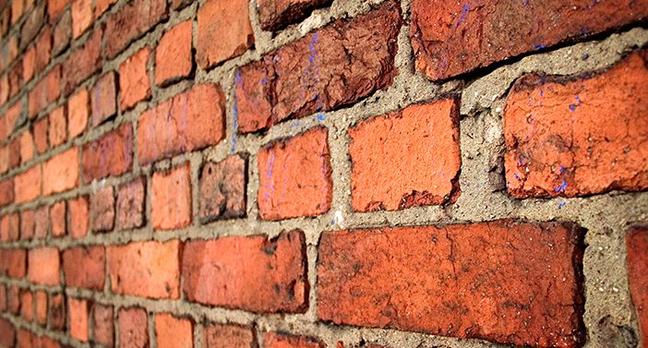
Despite how good your original bricklayer was, at some point the mortar on your house or wall will begin to age. At this point, it is a good idea to repoint your brickwork.
This process begins by raking the joints of your brickwork out. Use a cold chisel and hammer, and chisel to roughly 12mm depth. Next, mix the correct colour of mortar and keep the mixture reasonably stiff compared to the bricklaying consistency.
Then, using a trowel full of mortar, cut the mixture on your board into long, thin pieces and push it into the joints using the tip of your trowel. Do horizontal joints first, and then move on to the vertical – ensuring at all times that you don’t smear the face of your bricks. When dried, use a soft brush to sweep any loose debris or mortar away.
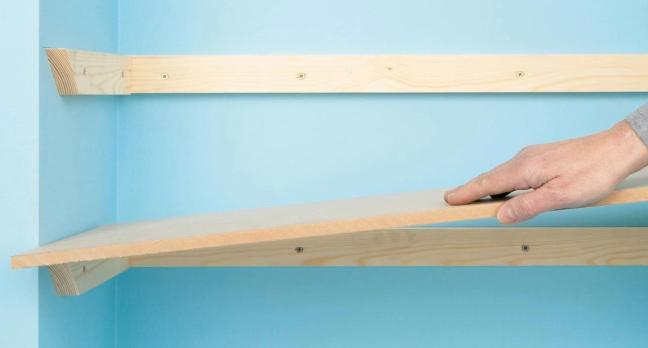
Firstly, figure out what sort of wall you’re working with. If it is a plasterboard wall, you’ll need to use a stud detector to find the upright wooden supports in which to anchor your brackets.
Take one of your shelf brackets and hold it up against the wall, using a spirit level to set it vertical, and then mark through the holes with a pencil. Using a drill bit that is one size smaller than your screws, drill into the wall. Screw your bracket into the wall using appropriate screws.
Next, using your spirit level and holding the shelf on top of your existing bracket, measure where the holes for the second bracket should be drilled. Repeat the stages from the first bracket and then fix the shelf in place, with screws if need me. Finally, check once again with a spirit level.
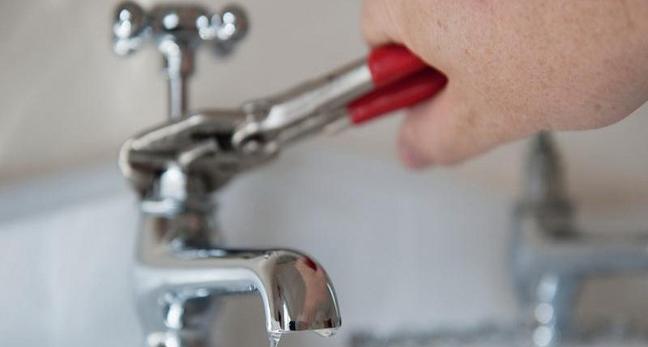
Begin by turning off the water at the mains. Next, turn on your leaking tap to let any water in the pipe escape. Also, put in the plug to stop any small parts disappearing down the drain.
Remove the tap’s cover with a screwdriver, undo the screw and remove the handle. Next, unscrew the tap bonnet with a spanner or wrench. You should now take off the headgear, where the large body washed, o-ring and jumper valve sit. The jumper valve should simply fall out, but take all three components and replace them.
Add waterproof lubricant to the o-ring, bonnet and tap spindle, and refit – ensuring that you don’t over-tighten the nuts. Now, reverse the process to put the tap back together, turn the water mains on and check to see if the leaking has stopped.
To receive the latest in style, watches, cars and luxury news, plus receive great offers from the world’s greatest brands every Friday.